Mantle 2.0 Guide: Node Management
Overview
Mantle 2.0 node management now includes two operator-facing views:
- A dedicated Nodes page for viewing nodes across the appliance
- A Nodes tab inside each group for group-scoped registration and status checks
These views help operators confirm node registration, review health, and understand parent/child lineage reported by connected nodes.
1. Access Paths
Use the following entry points in the current frontend:
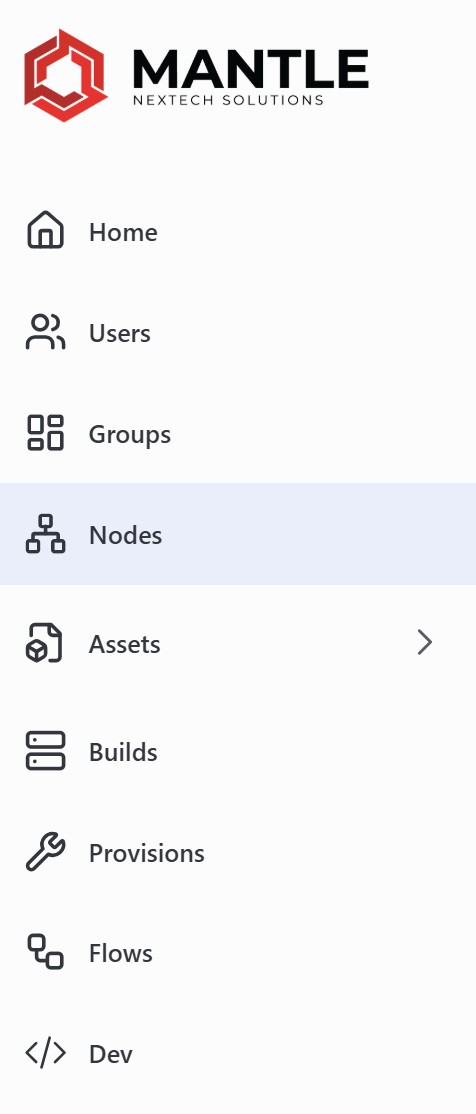
- Open Nodes from the left navigation when you are working from the global, pre-scoped view
- Open Groups, select a group, then open the Nodes tab when you want to work inside one group
Scoped Navigation
The dedicated Nodes entry is intended for the pre-scoped navigation experience. When you are already scoped into a product area, use the group-level Nodes tab if the dedicated page is not visible in the left menu.

2. What Operators Can See
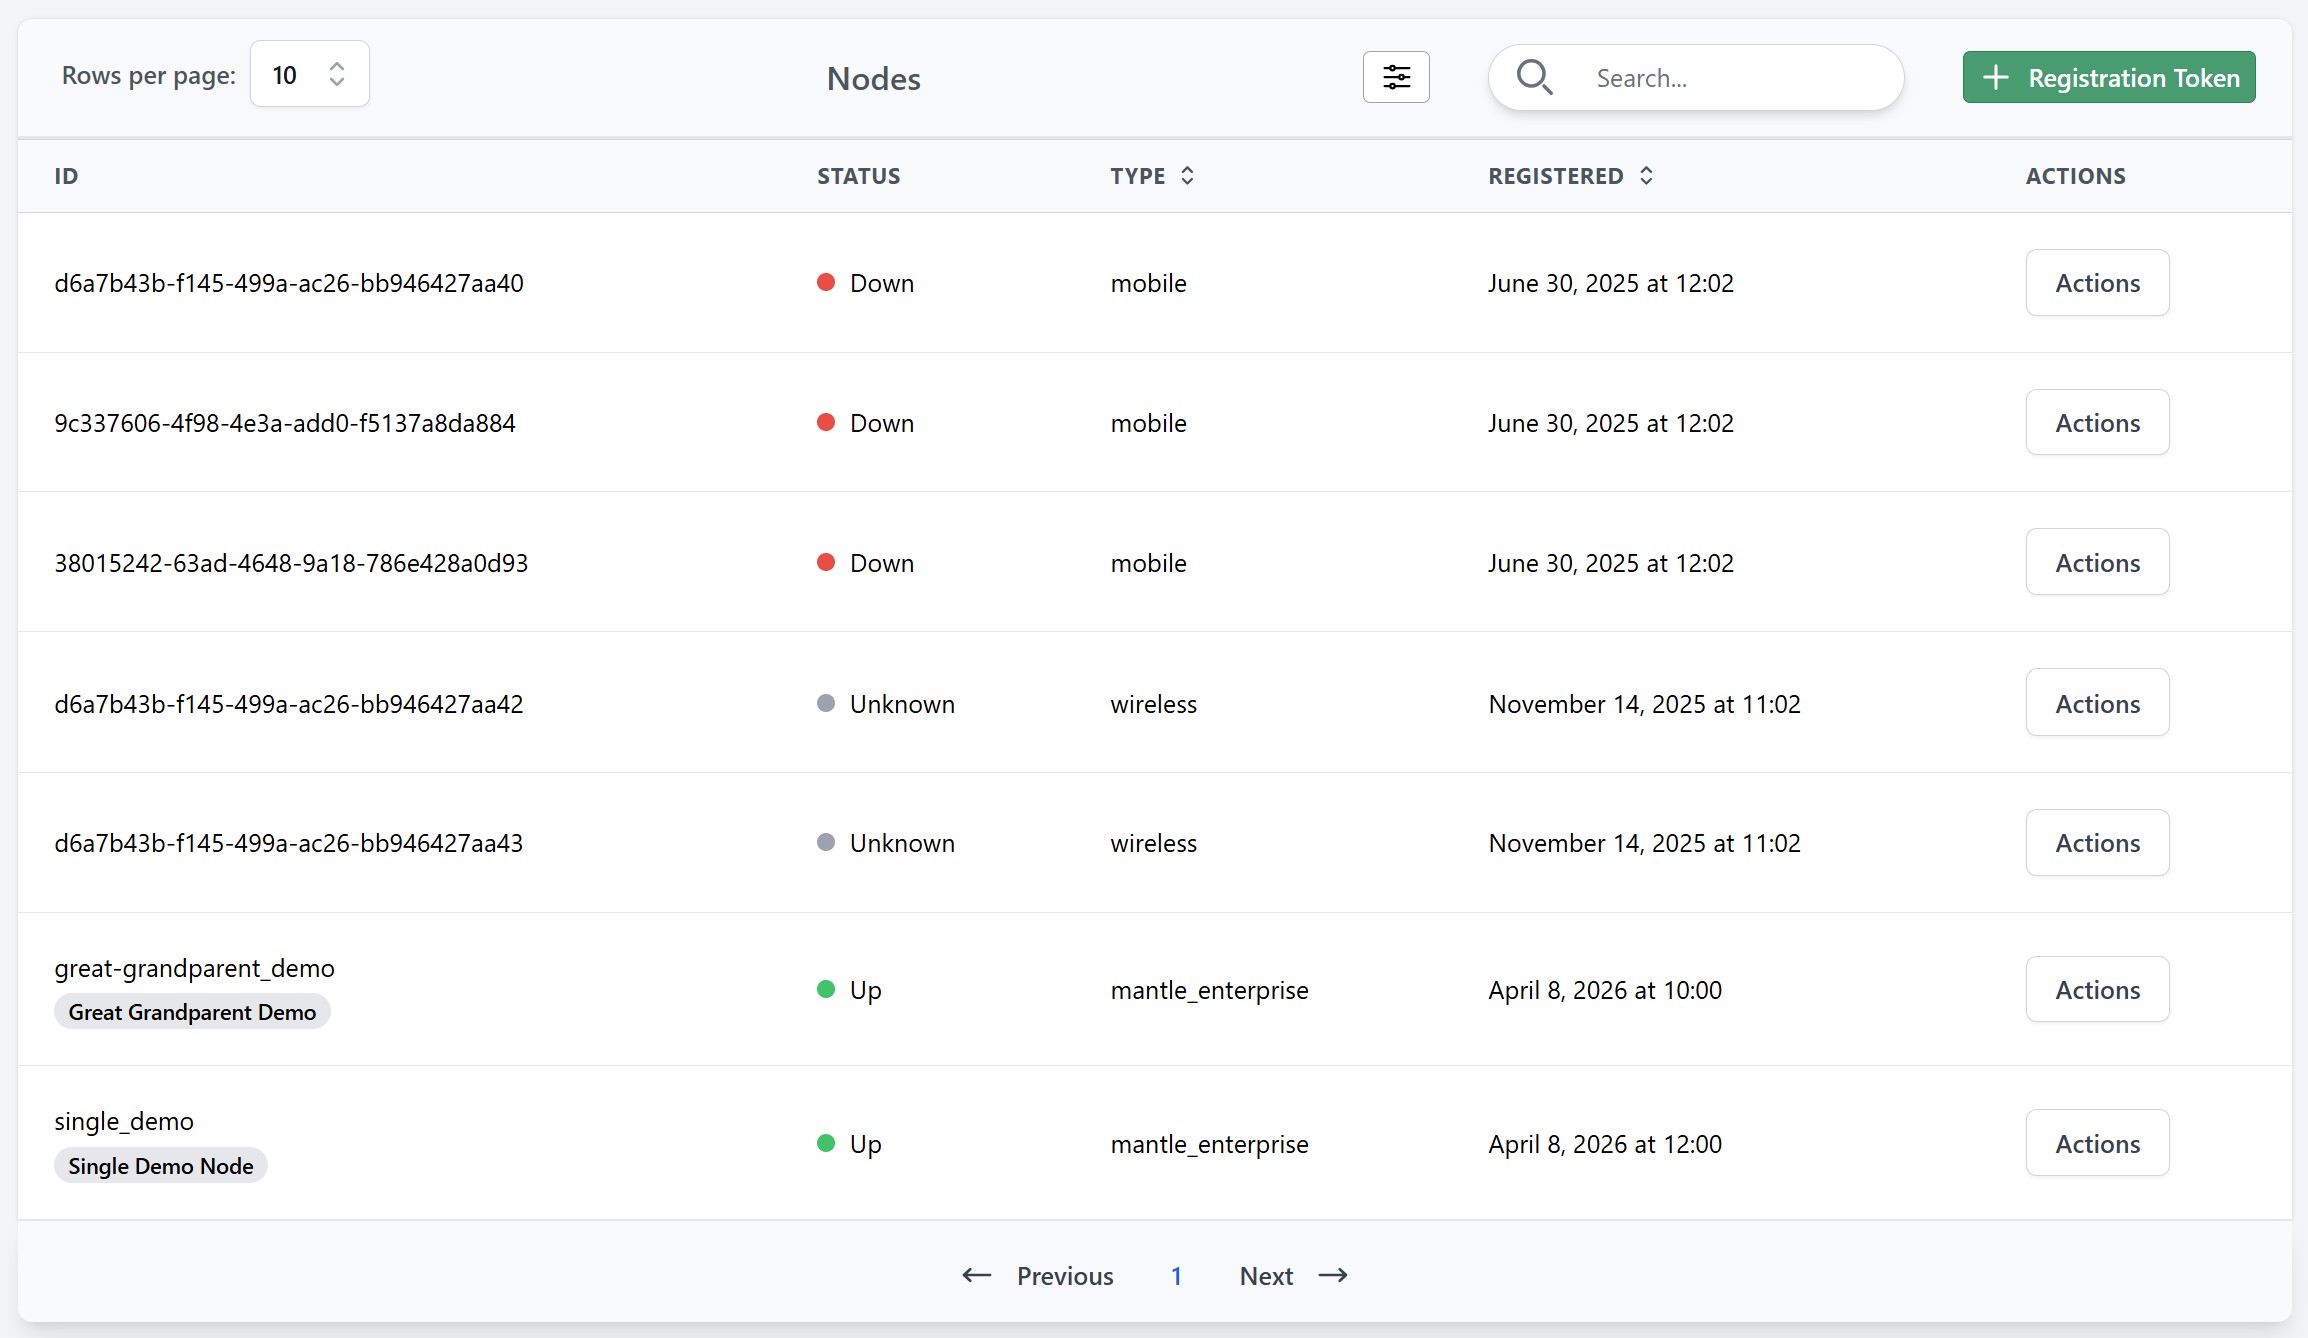
Both node views center on the same operational data:
- Node ID shown from the node UUID
- Friendly Name when one has been assigned
- Group association
- Status such as
Up,Down, orUnknown - Node Type
- Registered timestamp
The status indicator can be sourced from live node status updates or from the latest child snapshot metadata, which helps the UI continue to show useful status context when topology data is present.
3. Review Node Lineage
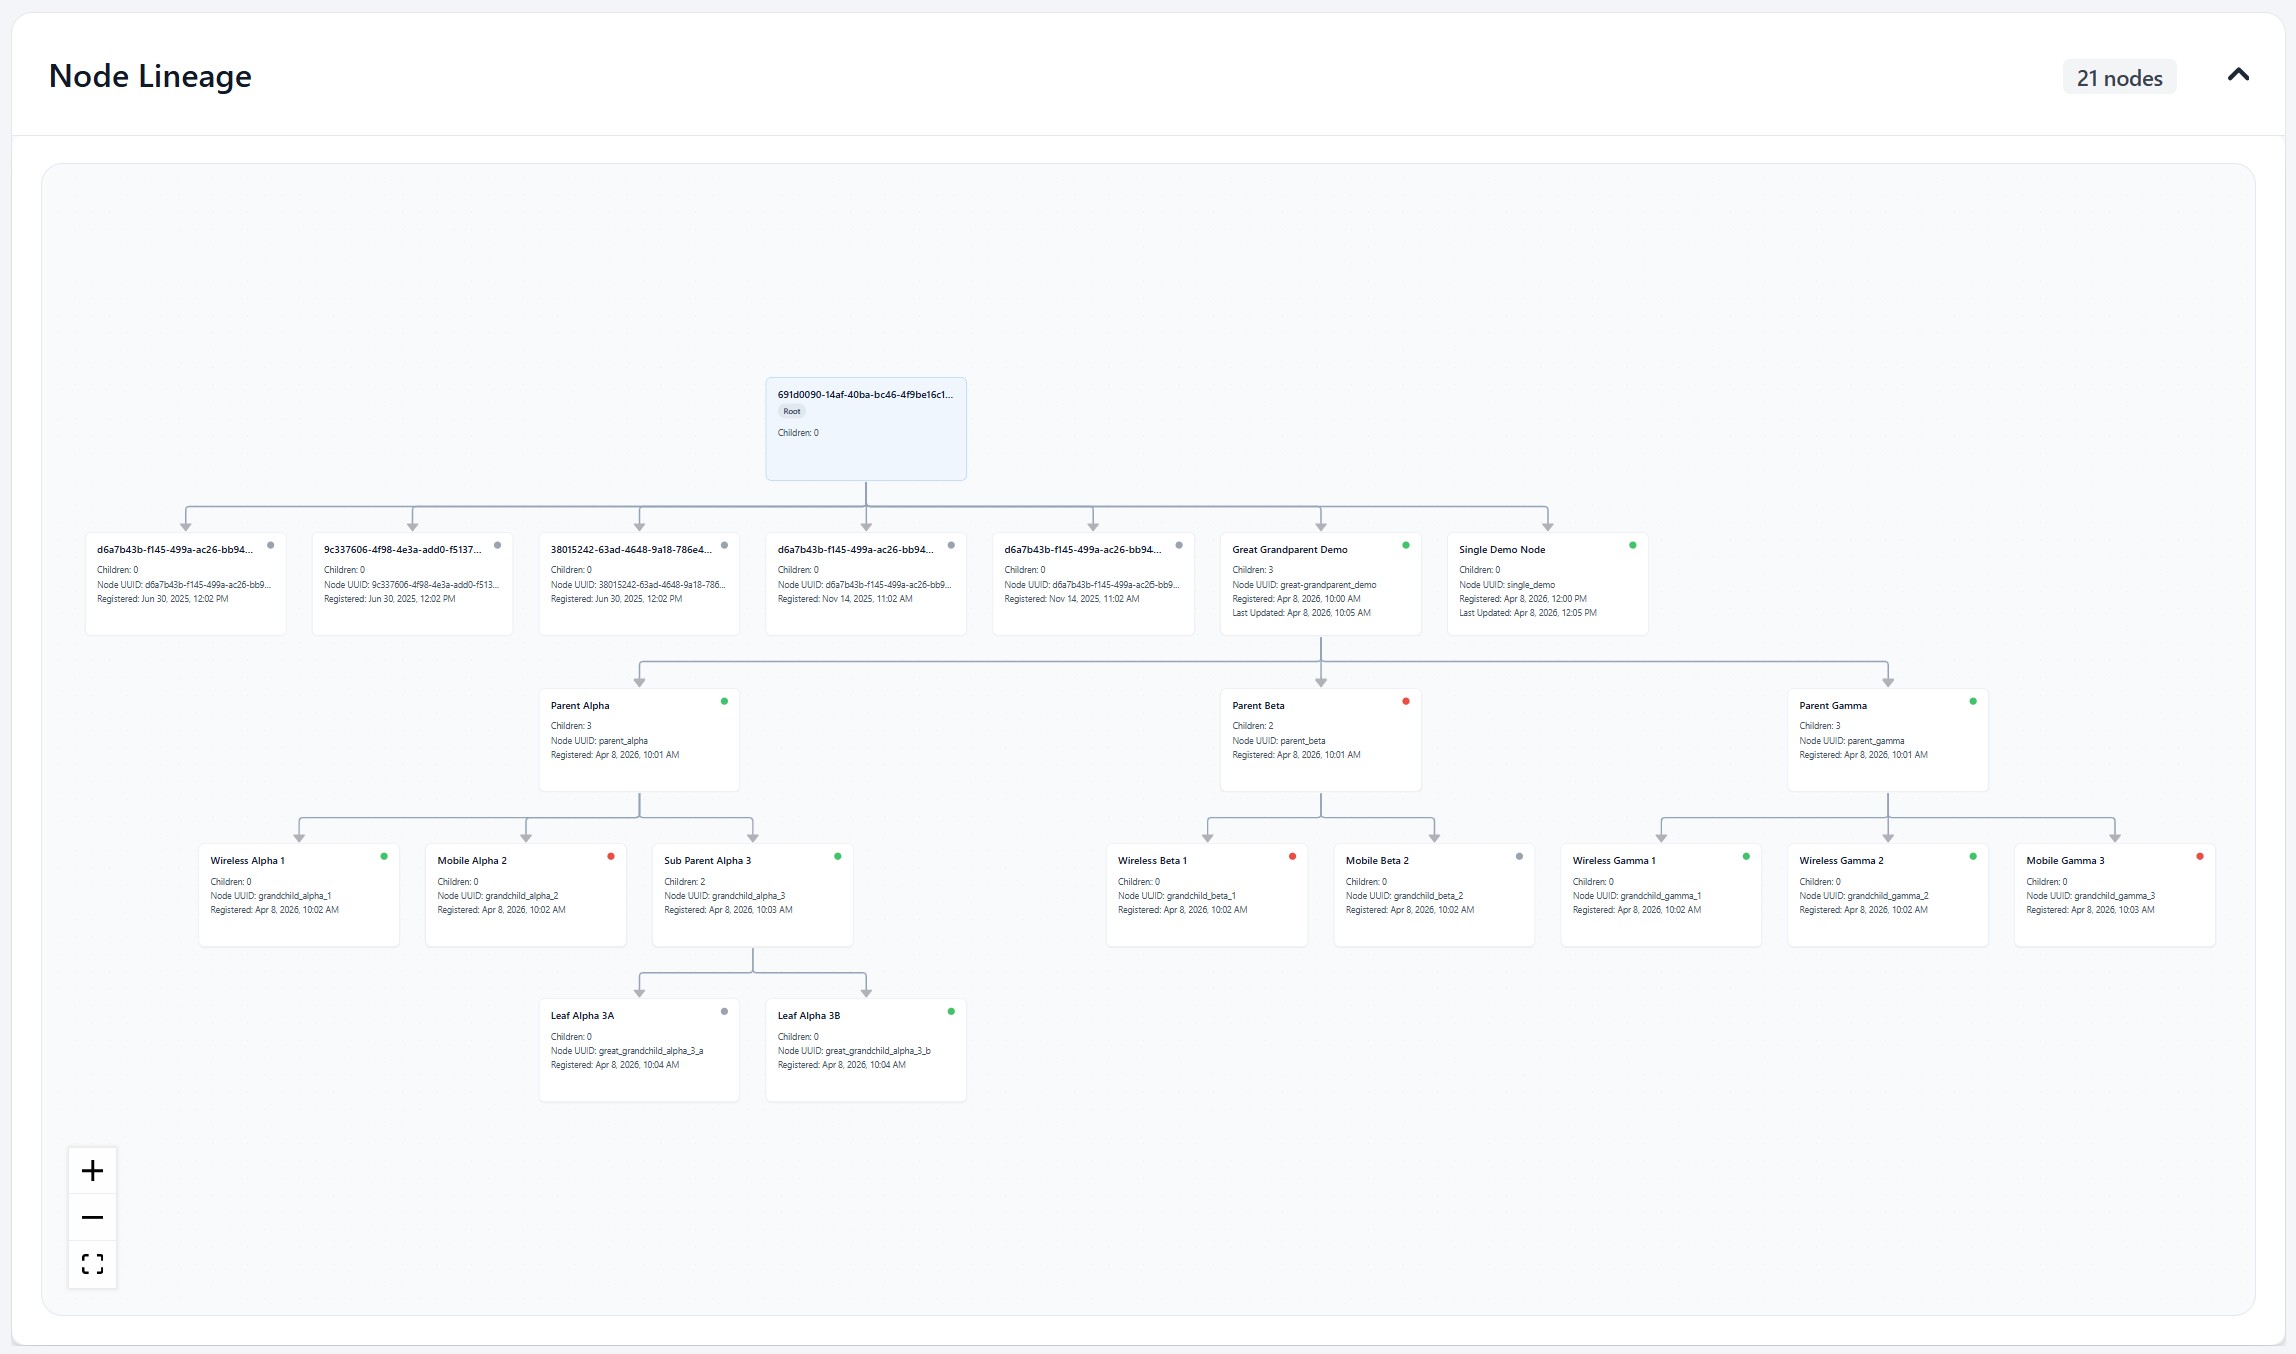
Mantle 2.0 can display reported node lineage as a visual graph. This helps operators understand:
- Which node sits at the top of a reported lineage chain
- Which downstream children were reported by that node
- Which child nodes are currently up or down
- When the node was registered and last updated
The lineage graph appears:
- On the dedicated Nodes page as Node Lineage
- On the group-level Nodes tab as Group Node Lineage
If no lineage has been reported yet, the chart remains empty and the UI shows a no-data message instead of a graph.
Lineage graph behavior
- The graph is read-only from an operator standpoint
- Nodes are auto-laid out from top to bottom
- The root node is visually separated from child nodes
- Child nodes display status indicators
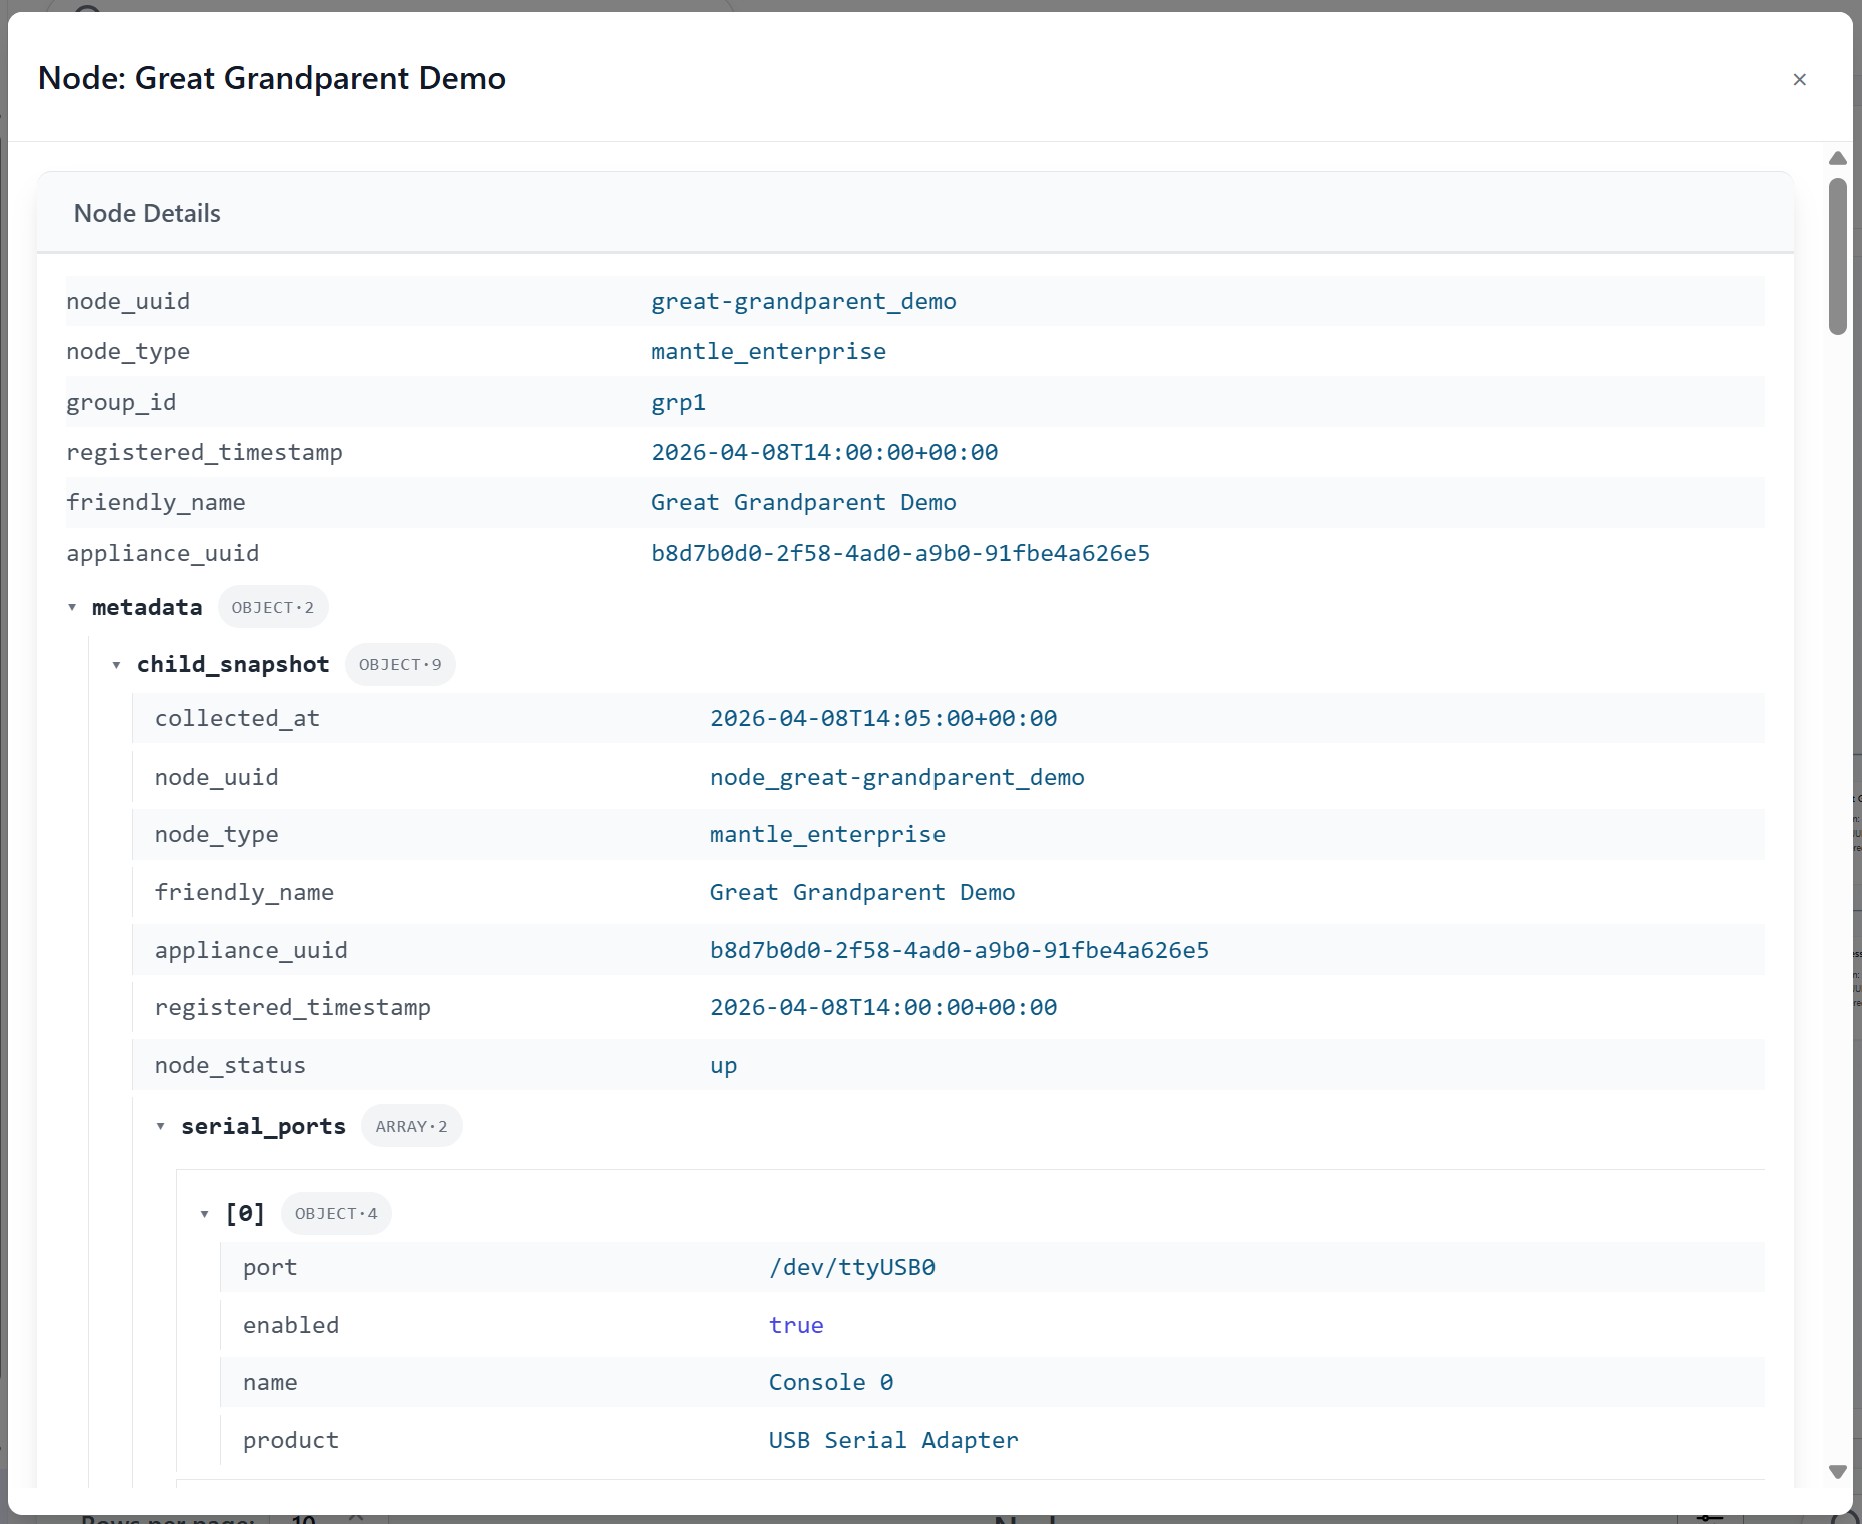
- Clicking a non-root node opens additional node details
This view is intended for observability, not topology editing.
4. Confirm Registration and Health
After registering a node:
- Return to the dedicated Nodes page or the group Nodes tab.
- Confirm the node appears in the table.
- Verify the expected Group and Type values.
- Check that the node status moves to
Upafter the node connects and reports state. - Review the lineage chart if the node should appear as part of a parent/child chain.
If the node appears in the table but not in the lineage graph, it usually means the node has registered successfully but has not yet reported topology data.
5. Troubleshooting Notes
- If the node is missing entirely, verify that the registration token was generated for the correct group and that the node completed registration successfully.
- If the node shows
Unknown, wait for the next node status update and confirm node-to-server connectivity. - If lineage is missing, confirm the node is running a version that reports topology metadata.
- If the dedicated Nodes page is not visible, return to the pre-scoped navigation state or use the group Nodes tab.
6. Remote Plans, Builds, and Flows
Use a deployment's target controls to choose a connected node in the current group. In a Plan, add Remote Target and select Remote Node. A local target remains available for work on the parent appliance.
On the receiving appliance, open Dashboard > Requests. Inspect the request's configuration, source, and asset availability before deploying. Plan requests offer Review; individual Build or Flow requests offer Deploy when ready.
A restored connection and active group relationship do not by themselves prove that required assets are installed. After reconnecting a child or deleting a required child asset, check the request's asset availability and synchronization state. Missing required assets block execution until they are available. Review errors rather than repeatedly submitting the same deployment.
Send Action Requests from a Plan starts its local work immediately and leaves remote work for acceptance. Deploy Now requests immediate execution on the selected targets. Follow actual run status and logs to confirm execution.